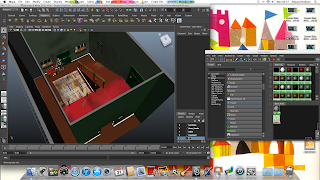
Now that the design process has been completed, I have now begun animating my "Norman" character. I am using "Norman" as he is a reliable, human character to use, with a lot of useful points of articulation. The story of my 3D animation will follow that of my storyboard, as well as the 2D piece I created. The 2D piece will be used as a template, and animatic, for the production of the 3D piece. Each shot of my piece will be created within a separate scene in Maya, which will allow me to adjust lighting, and camera work to each scene accordingly.
Tuesday, 29 November 2011
Thursday, 24 November 2011
2D Animated Piece - Second Run
The below video is my completely finished 2D piece. I will use this piece to inform me of the acting, posing, and staging of my 3D animation within my environment. Following the instruction of my tutor, I have made some slight alterations to the piece since my last version of it. These changes are mostly to do with the timing of the piece, as well as placing more ease in and out drawings.
Thursday, 10 November 2011
2D Animated Piece - First Run
The below video contains the 2D piece I will use to help inform me of the movements and timing I will put into my 3D animated piece. This piece is the first attempt at showing my short story through movement, and I can alter this piece in the future to fit my needs. I created the piece using Flash, following the direction of my storyboards.
Tuesday, 1 November 2011
Rendered Images
now that my model has been completely textured, I have taken a few shots of my work rendered. I have added atmospheric lighting to my piece, in order to give a better impression of how I want it to look. This lighting can be changed at a later date if I wish it to. My rendered images are below.
UV Mapping and Texturing
after the modelling stage has been finished, the next part of production is to add textures to my objects. This is done through UV mapping. Each object will be mapped, turned into a flat net that will then be textured using Photoshop. These Photoshopped textures will then be placed back onto the 3D objects.
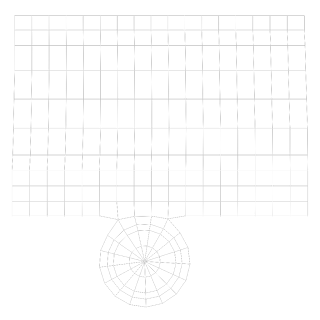
The above picture shows the UV texture editor on the right hand side. After an object has been mapped, it in this box that the net can be moved around, transformed, and joined to other nets, in order to lose stretching that could occur on a textured object. The below pictures show examples of what these nets look like.
After I have taken these nets into Photoshop and added my desired texture, The textures are then applied back onto the objects in Maya. The textures are applied using the Hypershade menu. A basic material is placed onto the object, with the texture then being applied on top of this. the below screenshots show my work as it begins to be textured.
The above and below images show the Hypershade menu, which is used to add textures to my 3D objects in Maya.
My 3D model has now been completely textured. The next stage for my interior, is to add lights. After that, the interior will be ready to stage my animated scene.
Subscribe to:
Comments (Atom)


