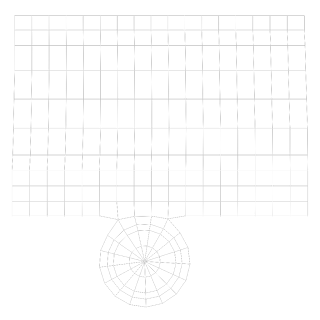
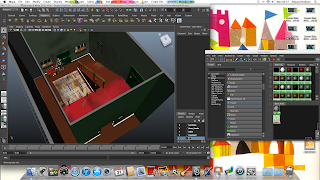
The above picture shows the UV texture editor on the right hand side. After an object has been mapped, it in this box that the net can be moved around, transformed, and joined to other nets, in order to lose stretching that could occur on a textured object. The below pictures show examples of what these nets look like.
After I have taken these nets into Photoshop and added my desired texture, The textures are then applied back onto the objects in Maya. The textures are applied using the Hypershade menu. A basic material is placed onto the object, with the texture then being applied on top of this. the below screenshots show my work as it begins to be textured.
The above and below images show the Hypershade menu, which is used to add textures to my 3D objects in Maya.
My 3D model has now been completely textured. The next stage for my interior, is to add lights. After that, the interior will be ready to stage my animated scene.


No comments:
Post a Comment